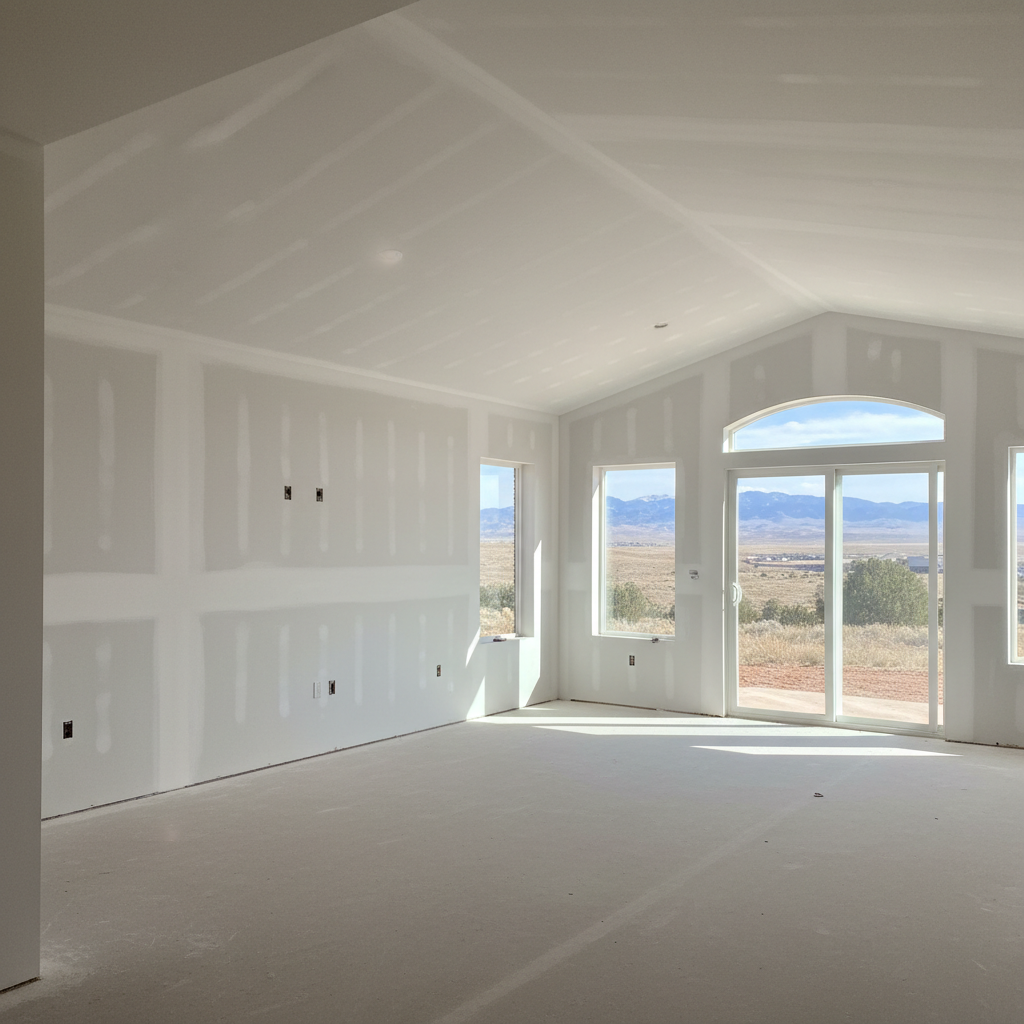
So, you're getting ready for drywall taping and mudding?
That's a pretty big step in any home renovation, whether you're finishing a whole basement or just patching up some water damage. This is where your walls really start to look like, well, walls. And honestly, it's also where the quality of the finish becomes super obvious. You want it done right, of course, and you probably want to know what's coming. I've been doing this for years here in Ogden, and I've seen plenty of projects go smoothly — and a few that hit snags because folks weren't quite sure what to expect. Let's walk through it together.
Timeline: How Long Does This Really Take?
This is probably the first question everyone asks, and it's a good one. It's definitely not a one-day job, that's for sure. Drywall taping and mudding is a multi-step process, and it depends a lot on drying times. You just can't rush it; if you do, you'll end up with cracks, bubbles, and a real headache later on. Generally, for an average room or a small addition, you're probably looking at:
- Day 1: Taping and First Coat. We'll embed the tape over all the seams and screw heads, then put on the first thin coat of mud. This one usually goes on pretty quick.
- Day 2: Second Coat. After that first coat is totally dry (which can take 12-24 hours, depending on the humidity — and believe me, Ogden summers can get pretty sticky), we'll apply a second, slightly wider coat.
- Day 3: Third Coat (and maybe a fourth). This is where we really feather out the edges and make sure everything is super smooth. Sometimes, especially with tricky angles or if you're aiming for a Level 5 finish, we might need a fourth skim coat. Each coat, naturally, needs its own drying time.
- Day 4-5 (or more): Sanding and Prep. Once all the mud is dry, it's sanding time. This creates a lot of dust, no way around it. After that, we'll clean up and prime the walls. Priming is crucial because it seals the mud and actually reveals any tiny imperfections that need a final touch-up.
So, for a typical project, you're probably looking at 3-5 working days, not counting weekends, just for the taping and mudding part. If it's a bigger job, like a whole house, well, multiply that. Don't let anyone tell you they can do it perfectly in a day and a half. They're either cutting corners or they're not being honest about how long things really take to dry.
What to Expect During the Process
Alright, so we've talked about the schedule. What's it actually like having us in your house?
- Dust, Dust, and More Dust: I really can't stress this enough. Even with dust-reducing muds and vacuum sanders, there will be dust. It's fine, it's white, and it gets everywhere. We do our best to contain it with plastic sheeting, but you should still plan on covering furniture, moving valuables, and maybe even setting up an air purifier.
- Noise: It's not constant, but there's scraping, mixing, and sanding. It's not like framing, but it's certainly not silent either.
- Drying Time is Sacred: We'll need access to the space, and it needs to be kept at a consistent temperature for the mud to dry correctly. Please don't mess with the thermostat or open windows on a cold day if we've just applied a coat.
- We'll Need Space: We'll have tools, buckets of mud, and sheets of plastic. Clear the work area as much as you possibly can before we start.
- Your Walls Will Look Messy Before They Look Good: After the first coat, it might look like a hot mess. Don't panic! It's just part of the process. Each subsequent coat refines it.
How to Prepare Your Home for Drywall Finishing
Doing a little prep work yourself can really help things move smoothly and keep your costs down. Here's what I recommend:
- Clear the Room: Move out all furniture, decorations, and anything you don't want covered in dust. If something's too big to move, cover it completely with heavy plastic.
- Protect Your Floors: Lay down drop cloths or rosin paper. Don't rely on just a sheet or two; overlap them and tape the seams.
- Ensure Good Lighting: We need good light to spot imperfections. If the area is dim, consider adding some temporary work lights.
- Confirm Power Access: We'll need outlets for tools. Make sure they're working.
- Ventilation: While things are drying, you'll want some airflow, but not direct drafts. During sanding, we'll need to open windows if possible, especially in older Ogden homes where the ventilation might not be great.
- Kids and Pets: For their safety and to keep the work flowing, it's best to keep them out of the work area during the day.
Questions to Ask Before Signing a Contract
Before you shake hands or sign on the dotted line, make sure you're clear on a few things. Any reputable contractor, like us at Midway Drywall Solutions, will be happy to answer these:
- What level of finish are you providing? There are different levels, from 0 to 5. Most residential walls are Level 4, which means they're smooth and ready for paint. Level 5 is a full skim coat over the entire surface, which is premium and costs more, but it's what you want for dark paints or high-gloss finishes. Just make sure you're getting what you expect.
- What's included in the price? Does it cover all materials (tape, mud, corner bead)? Does it include priming? What about clean-up?
- How do you handle dust containment and clean-up? Get specifics. Will they seal off rooms? Do they use dustless sanders? What level of clean-up should you expect at the end of each day and at the end of the job?
- What's your payment schedule? Most contractors will ask for a deposit, then progress payments. Be wary of anyone asking for 100% upfront.
- What's your warranty on the work? Good contractors stand behind their work. Ask about their guarantee against cracks or imperfections.
- What's the estimated timeline, including drying times? Get a realistic schedule, not just a best-case scenario.
- Who will be doing the work? Will it be the owner, employees, or subcontractors? This matters for accountability and consistency.
Getting your drywall finished properly is a big deal. It sets the stage for everything else in your room. Take your time, ask the right questions, and make sure you're comfortable with the process and the people doing the work. You'll be glad you did when you're looking at perfectly smooth walls.