So, you're thinking about adding some texture to those walls, right? Maybe you're finally tackling that basement, patching up some old damage, or just looking for a fresh vibe. Drywall texturing seems pretty simple on the surface, but I've watched plenty of folks in Ogden stumble, and it usually costs them more time and money than they ever expected. Let's dig into the biggest screw-ups I see, so you can steer clear of them.
Mistake #1: Skipping Proper Surface Prep
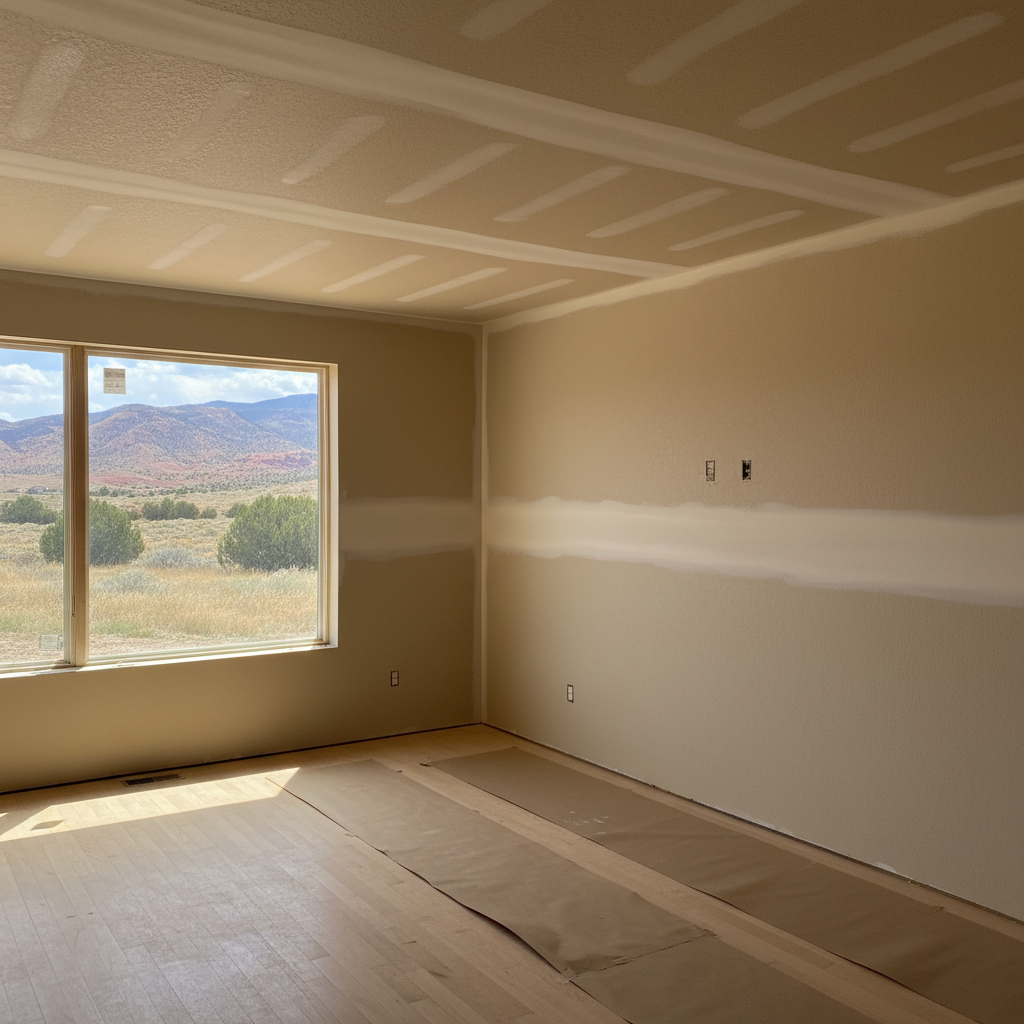
This one's probably the most common. People get all excited about the texture itself, but they forget that the finish is only as good as what's underneath. You wouldn't paint over rust, would you? It's the same principle here. If your drywall isn't perfectly clean, smooth, and primed, that texture won't stick right, or worse, it'll just highlight every tiny flaw.
- Dust and Debris: After sanding, there's always this fine layer of dust. You absolutely have to get rid of it. I'm talking vacuuming, then wiping down every surface with a damp cloth. If you don't, that dust mixes right into your texture mud, making it lumpy and weak.
- Unfilled Gaps and Cracks: Think a heavy texture will magically hide a hairline crack or a nail pop? Nope. All it does is make it look like a *textured* hairline crack. Fill everything, sand it smooth, and make sure it's perfect before you even consider texturing.
- No Primer: This is a huge one. Primer does a few key things: it seals the drywall, gives the texture a consistent surface to grab onto, and stops the drywall from soaking up too much moisture from your texture mud too fast. Without it, you could end up with inconsistent drying, flashing, and even problems with adhesion. Especially in older homes around the East Bench, where wall materials can vary, a good primer isn't just recommended, it's essential.
Mistake #2: Choosing the Wrong Texture for Your Home (or Your Own Skill Level)
There are tons of texture options out there – orange peel, knockdown, skip trowel, popcorn (please, for the love of all that is holy, no more popcorn!). But not every texture works for every house, or for every person trying to put it on.
- Ignoring Your Home's Style: A super modern, smooth finish would probably look really out of place in a charming, older bungalow in the Jefferson neighborhood. On the flip side, a heavy, rustic skip trowel might totally clash with a sleek, contemporary build. Think about what truly complements your home's overall look.
- Underestimating Complexity: Orange peel and light knockdown? Those are pretty forgiving. You can usually get a decent result with just a little practice. But a perfect skip trowel or a Venetian plaster look? Those demand serious skill and practice. If you're doing it yourself, be realistic about what you can actually pull off. A bad texture job is way, way harder to fix than a bad paint job.
- Forgetting Future Repairs: Imagine you need to patch a section down the road. Can you easily match that texture? Some textures are almost impossible to replicate perfectly, which means you might end up re-texturing an entire wall just to make it look right.
Mistake #3: Skimping on Materials and Tools
You wouldn't build a house with cheap lumber, so why would you use cheap mud or tools for your finish? This is definitely not the place to cut corners.
- Using the Wrong Mud: There's joint compound, and then there's *texture* compound. They're different, believe me. Texture compound is made for spraying or troweling on a finish, often with binders that give it more durability and make it easier to work with. Using regular joint compound for a heavy texture can lead to cracking or flaking later on.
- Cheap Sprayers or Trowels: If you're spraying texture, a cheap, inconsistent sprayer will give you a cheap, inconsistent finish. The same goes for trowels. A good quality trowel has the right flex and edge to help you get that smooth, even knockdown or skip trowel pattern. It's an investment, sure, but it really pays off in the final look.
- Not Enough Product: Running out of mud halfway through a wall? That's a nightmare. It's incredibly hard to mix a new batch that's the exact same consistency, and you risk visible seams or texture variations. Always buy more than you think you'll need. You can usually return unopened bags, so why not?
Mistake #4: Rushing the Process
Drywall work, especially texturing, is all about patience. You simply cannot rush drying times, and you can't rush the application either.
- Not Letting Layers Dry: Whether it's primer, the texture itself, or paint, every single layer needs to fully cure. If you try to knockdown texture too soon, it'll just smear. If you paint too soon, you risk bubbling, peeling, or an uneven finish. Ogden's dry air usually helps things along, but don't assume it's always fast enough. Always follow the manufacturer's recommendations.
- Trying to Do Too Much at Once: Texturing an entire house in one go is exhausting, and it often leads to mistakes because you're tired. Break it down into manageable sections. Work on one wall, or even just part of a wall, at a time, especially if you're new to this.
- Ignoring the Learning Curve: If you're doing it yourself, practice on a scrap piece of drywall first. Seriously. Get a feel for the sprayer, the mud consistency, and the knockdown technique. It's much, much better to mess up a small piece of drywall than your living room wall.
Look, texturing really can transform a room. But it absolutely has to be done right. If you're feeling overwhelmed or just want it handled professionally, that's what we're here for. At Midway Drywall Solutions, we've textured more walls than I can count, and we know exactly how to avoid these headaches. Don't let a bad texture job be the one thing that keeps you from loving your home.