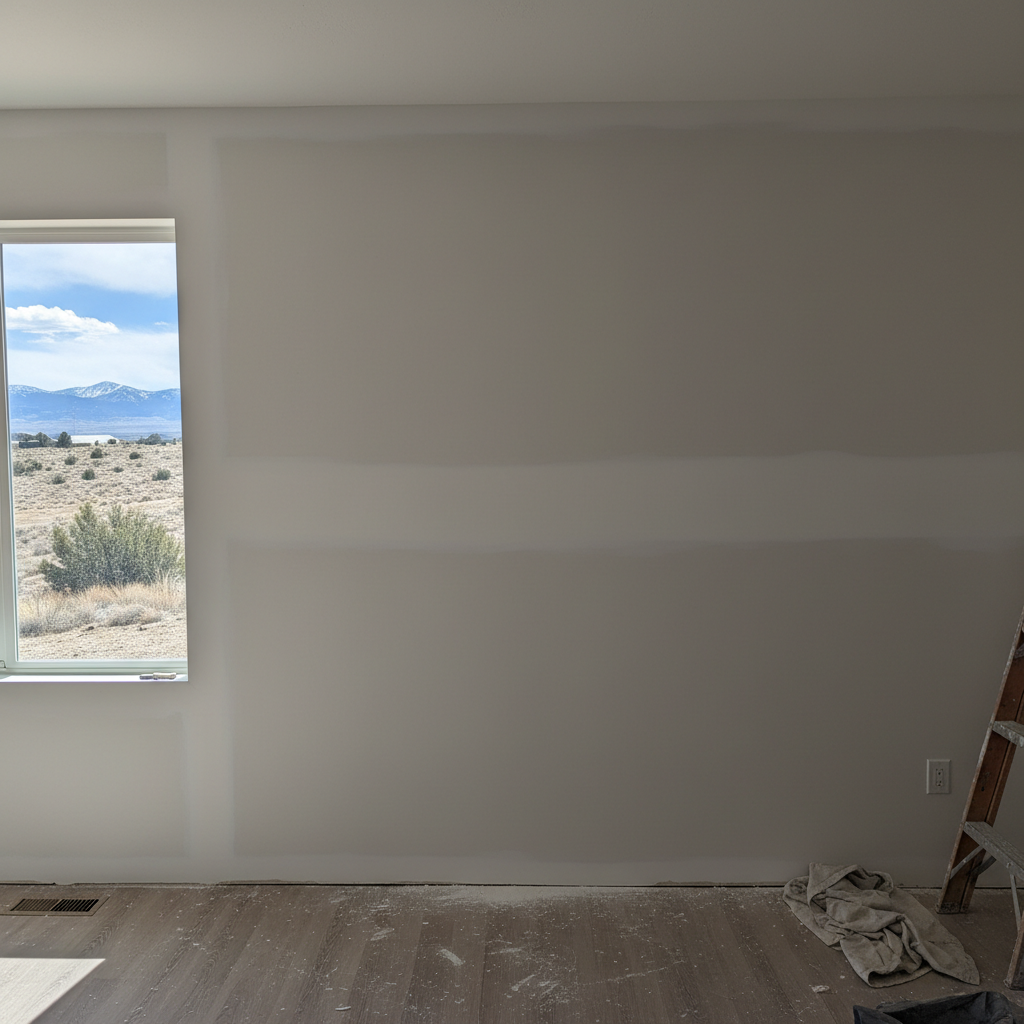
So, you've got a hole in your wall. Maybe it's a crack from the house settling, or some water damage from that leaky pipe you finally got around to fixing. Now you're probably thinking about getting that drywall repaired, right? Good for you for tackling it! But before you grab a bucket of spackle, or even pick up the phone, there are a few common mistakes I see folks in Ogden make. These can really mess things up, or honestly, just cost them more than they should.
Mistake #1: Thinking the Damage is Smaller Than It Is
This is probably the biggest one out there. A tiny crack might just look like a surface thing, but sometimes it's actually a sign of something much bigger going on. I've been called out to homes in the East Bench area where what looked like a hairline crack was really pointing to foundation movement. Or a small water stain? That could mean a huge section of drywall behind it was soaked and moldy. You just can't patch over that kind of stuff.
Before you even think about patching, you've got to figure out what caused it. Is it structural? Is water still leaking somewhere? If you don't fix the real problem, that drywall repair is just going to fail again. And then you're right back to square one. So take the time to investigate. Pull back a bit of paint, poke at any soft spots. Don't be scared to cut a small inspection hole if you suspect water damage lurking behind the wall.
Mistake #2: Not Being Clear About the Finish
Okay, so you've got the hole patched. Awesome! But what about the texture? Ogden homes have all sorts of drywall finishes, from perfectly smooth walls to orange peel, knockdown, or even some of the older, more unique plaster textures. If you don't say exactly what you want, or if the person doing the repair doesn't match it, your wall is going to stick out. Big time.
I've definitely seen repairs where a smooth patch went onto an orange peel wall, or a heavy knockdown was slapped onto a light texture. It's not just about getting the drywall flat, you know? It's about making it blend in so well with the rest of the wall that you can't even tell there was a repair. Always talk about the texture match upfront. Ask for samples if you're not quite sure what your existing texture is. A good contractor, like us at Midway Drywall Solutions, will make sure that texture is blended properly. You won't even be able to tell we were there.
Mistake #3: Picking the Absolute Cheapest Bid Without Asking Questions
Look, I totally get it. Money matters. Everyone wants a good deal. But when it comes to drywall repair, the cheapest bid often comes with hidden costs or compromises. I've seen homeowners hire someone who quotes a rock-bottom price, only to discover they're not licensed, not insured, or they do such shoddy work that it all needs to be redone. What a headache!
Here's what you need to ask, no matter how low that bid seems:
- Are you licensed and insured? This protects *you* if something goes wrong.
- What exactly does this price include? Does it cover materials, labor, texture matching, and cleanup?
- How long have you been doing this kind of work?
- Can you give me references or show me examples of similar repairs you've done?
A legitimate contractor won't bat an eye at these questions. If they do, that's a huge red flag. You're inviting someone into your home to do work, so you've got every right to make sure they're qualified and trustworthy. Wouldn't you agree?
Mistake #4: Not Protecting Your Home During the Repair
Drywall work is messy. Period. There's dust, there's mud, there's paint. If you or your contractor aren't taking precautions, that dust is going to get everywhere – on your furniture, your floors, your electronics. It's a fine, insidious dust that just settles into every single nook and cranny.
Before any work starts, make sure furniture is moved or covered. Lay down drop cloths. Seal off the work area with plastic sheeting, especially if it's a bigger repair. This isn't just about keeping things clean; it's about protecting your belongings from damage. A good contractor will do this automatically, but it's something you should confirm and expect. Don't just assume they'll take care of it if you haven't talked about it.
Mistake #5: Rushing the Drying and Curing Process
Drywall mud isn't like paint; it needs time to dry and cure properly between coats. If you rush it, you're going to end up with cracks, uneven surfaces, or a weak patch that just won't hold up. I've seen people try to speed things up with fans or heaters, which can sometimes cause more problems than they solve by drying the surface too fast while the inside is still wet.
Patience is really key here. Depending on the humidity (and Ogden can get pretty dry, which helps, but still!), temperature, and how thick the mud is, it can take several hours, or even overnight, for a coat to fully dry. Don't push it. Let each layer dry completely before sanding or putting on the next one. This ensures a strong, smooth, and lasting repair. Believe me, it's worth the wait.
Avoiding these common mistakes will save you time, money, and a whole lot of frustration. Do your homework, ask the right questions, and don't cut corners. Your walls will definitely thank you for it.