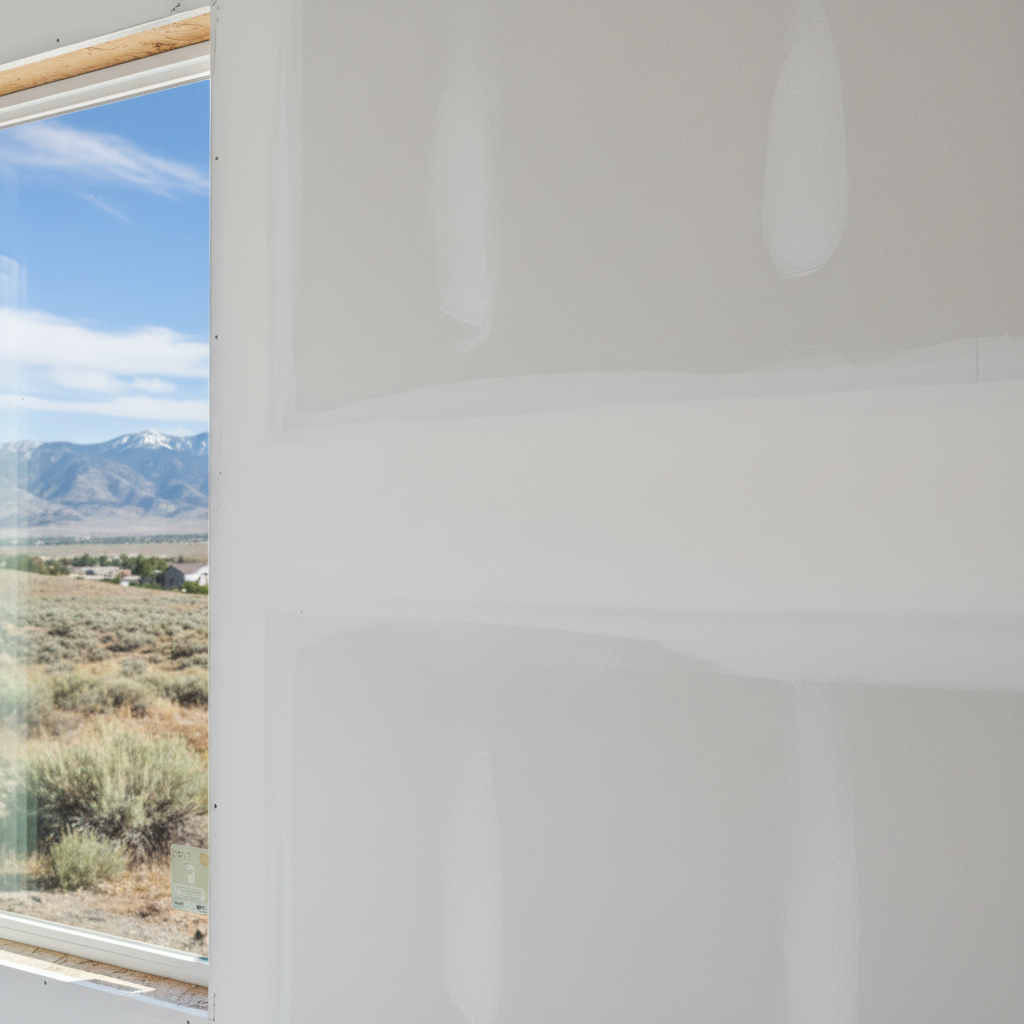
Alright, so you've got a renovation project going on. Maybe it's a basement finish, or you're adding a room, and you're looking at those bare studs thinking, "I can hang drywall, right?" You probably can, for some of it. But let's be real: there's a huge difference between hanging drywall and finishing it. I'm here to give you the straight scoop on what you can realistically tackle yourself, and when it's just plain smart to call in the pros.
Before You Even Think About Lifting a Sheet
Planning is your best friend here. Seriously, don't skip this part. First, measure everything. Get your square footage down so you know exactly how many sheets of drywall you'll need. Standard sheets are 4x8, but you can also find 4x10 or even 4x12 sizes. Bigger sheets mean fewer seams, which translates to less mudding later on, but they're also a lot heavier and trickier to maneuver, especially if you're working solo. If you're tackling a ceiling, I'd almost always recommend renting a drywall lift. Your back will thank you, and you'll get a much tighter fit, too.
Think about the type of drywall you'll use, too. Regular 1/2-inch is usually fine for most walls. If you're doing a ceiling, though, 5/8-inch is a better bet to prevent sagging, especially if your joists are spaced 24 inches on center. For bathrooms or other high-moisture spots, you'll definitely want moisture-resistant drywall—often called 'green board' or 'purple board.' Fire-rated drywall is a must for garages or furnace rooms; always follow local building codes there. You'll also need a good utility knife, a T-square, a drywall saw (for cutouts), a drill with a drywall screw setter bit, and plenty of drywall screws. Don't cheap out on screws, by the way; you'll regret it when your sheets start popping.
One more thing: where are you going to store those sheets? They're heavy and brittle. You absolutely don't want them bending or getting wet. If you're working in an older Ogden home, especially up on the East Bench where some of those foundations can be a bit... unique, make sure your floor is level and strong enough to support the weight before you stack a ton of sheets there.
The Hanging Process: What to Expect
Alright, you've got your materials. Now for the actual hanging. Start with the ceilings first, then move to the walls. When you're doing walls, always hang sheets horizontally. This means fewer butt joints (the short ends of the sheet), which are notoriously harder to finish smoothly than tapered edges. Butt joints just require more mud and more sanding, so minimize them wherever you can.
When cutting, score your line with the utility knife, snap the board, then cut the paper on the back. Easy peasy. For electrical boxes or other cutouts, measure carefully, transfer those measurements to the drywall sheet, and use your drywall saw. Don't try to force a sheet into place if it's not fitting right. You'll just break it or create a bigger problem down the line. A small gap is actually better than a bowed sheet, believe it or not.
Screw placement is important. You want screws every 8-12 inches along the studs and joists, about 3/8 to 1/2 inch from the edge. Don't overdrive the screws; you want them just below the surface of the paper, not breaking through it. Too deep, and they lose their holding power; too shallow, and they'll stick out. The drywall screw setter bit is your best friend here, really.
This part, the actual hanging, is definitely something a determined homeowner can do. It's physical work, and it requires precision, but it's not rocket science. You'll get better with each sheet you hang, I promise.
After the Sheets Are Up: When to Call Midway Drywall Solutions
So, you've got all your sheets screwed into place. Looks pretty good, right? This is where a lot of DIYers hit a wall, literally. The mudding and taping phase is where the real skill comes in. It's an art form, honestly. Getting those seams smooth, feathering out the mud so you don't have humps and valleys, making sure your corners are crisp – that's tough to master without a lot of practice.
If you're aiming for a perfectly smooth, level 5 finish, I'm going to tell you right now: that's a job for the pros. We've got the tools, the experience, and the eye for detail to make it look truly seamless. You can try to mud and tape yourself, and for a garage or a utility room, it might be perfectly acceptable. But for living areas, bedrooms, or anywhere you want a professional look, that's usually where Midway Drywall Solutions steps in.
We see it all the time: folks do a great job hanging the drywall, but then they get bogged down in the mudding, or they end up with wavy walls and visible seams. It's frustrating, and often, fixing those mistakes takes more time and money than if you'd just called us in the first place. You've done the heavy lifting, literally. Let us handle the finesse work to make your project truly shine. You'll be glad you did, trust me.